Full Competitive Layouts For Sale Now
4.95/5 Rating
from 5,000+ reviews
Local Fulfillment
Regional Warehouses in US, EU, and AU
30 Day Returns
Hassle free returns policy
Free Shipping
$100 US / $150 AUD / $225 EU+Worldwide
Warhammer 40k Compatible
Star Wars Legion Compatible
Fantasy Terrain
Battletech Compatible
Trench Crusade Compatible
Marvel Crisis Protocol Compatible
Deploy your battle-robots in style.
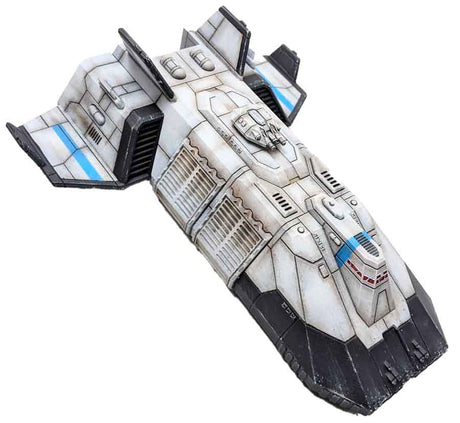
HEXTECH Borealis Ship- 6mm
Siren Dropship
Monitor Mk2 Dropship
Gepard Dropship Mk2
Drop Pods
Gepard Dropship Mk1-C
Eos Dropship
Vengeance Frigate
Lance Carriers
Dropshuttle